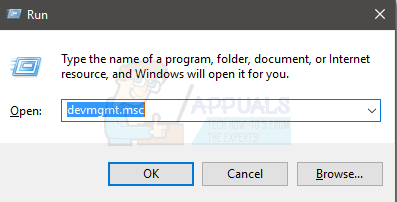
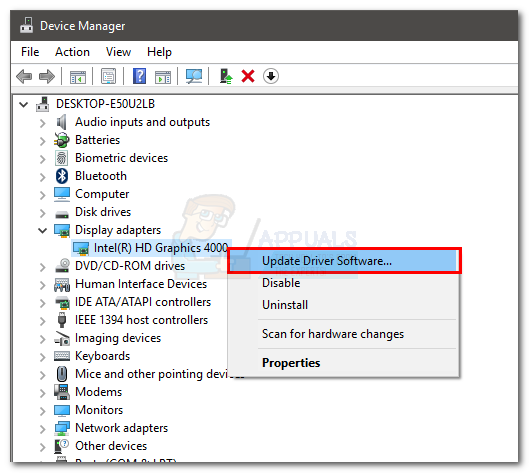
The oemnn.inf is nothing more than a 3rd party software or in this case a 3rd party driver for your device. The “oem” part is used by the Microsoft to identify the 3rd party driver software and the number after that is just a sequential number associated with it. So if you see errors or configuration issues related to oem42.inf or oem27.inf then that simply means that your 3rd party device driver have an issue and you need to either update or roll back the driver. Since this is an issue with the device’s driver, it can easily be solved by downloading either the latest driver or rolling back to a previous one, in case the problem occurred after updating the driver, which was working. And if nothing else works, you can simply uninstall the driver and let the Windows install the driver itself.
Method 1: Install the latest driver
You can do this in two ways. Either do it manually or let the Windows find and update the latest driver version
Manually Update the Driver
Go to your device manufacturer’s website and look for the latest driver versions. Make sure the driver you are downloading is compatible with your Windows version. Once downloaded, follow the steps given below Navigate to the location where you downloaded your driver and select it. Now select Next and follow the instructions on the screen. Once it is done, Reboot your computer and check if the error is still there.
Automatically Install the Driver
Now Windows will automatically search for an updated version and install the driver. Reboot your computer and check if the error is still there.
Method 2: Uninstalling and reinstalling the driver
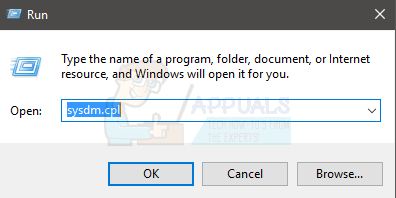
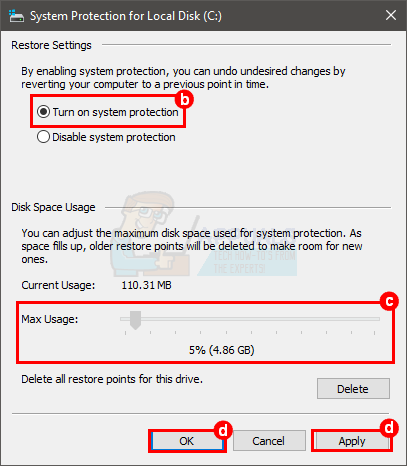
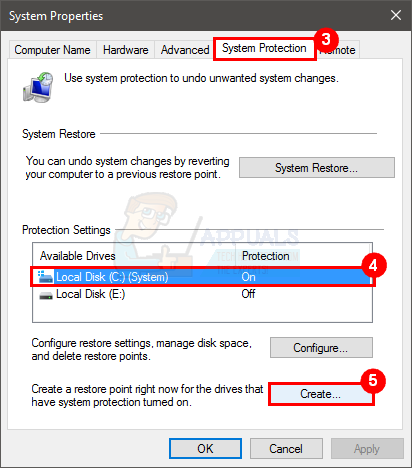
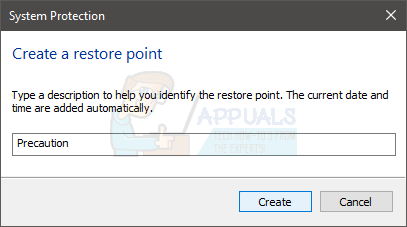
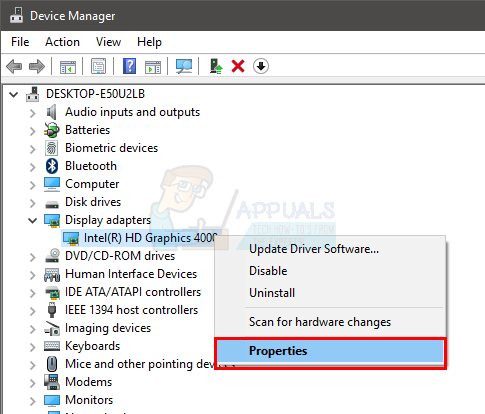
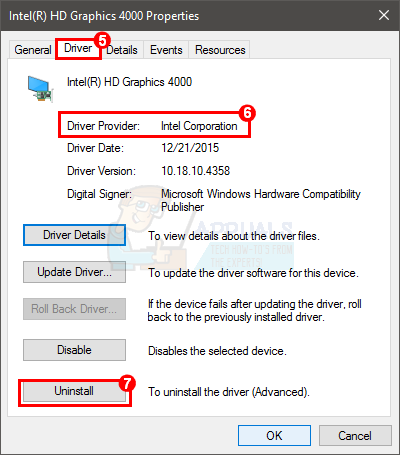
Windows usually comes with a bunch of generic driver software as well. Uninstalling the driver software and letting Windows install the most compatible driver sometimes solves the problem. Don’t forget to create a System Restore Point just in case you accidently mess up the drivers or uninstall the wrong one. Follow the steps given below to create a System Restore Point Wait for it to finish. Now uninstall the driver (Before uninstalling, check the provider’s name of your driver as well).
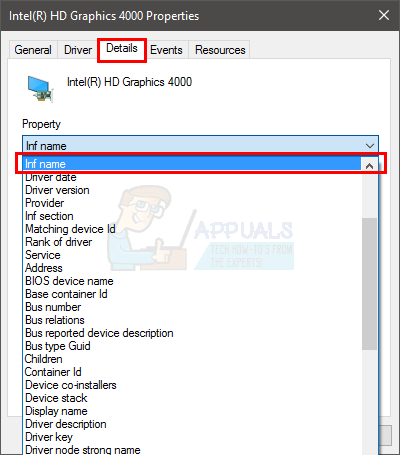
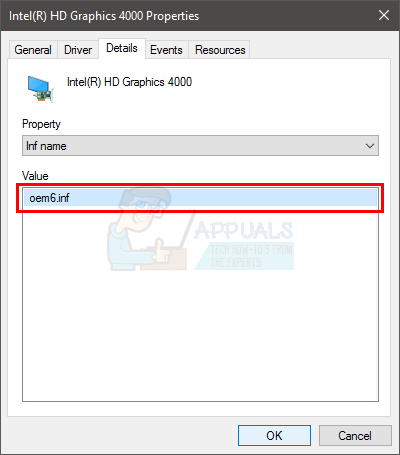
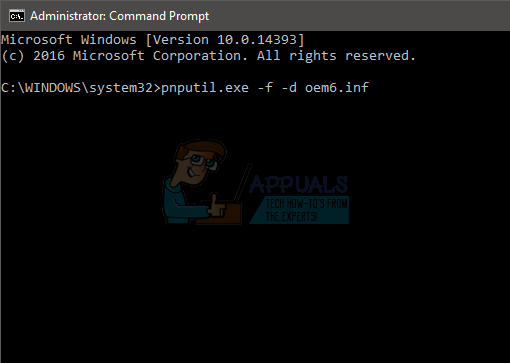
Reboot your computer to let Windows install a generic driver for your device. Once rebooted, follow the steps from 1-6 and check the Driver Provider. It should be Microsoft now. Check if the issue still persists. If the Driver Provider isn’t changed then you have to delete the driver package from the command prompt. But before doing that, perform these steps to extract the name of the driver you will be deleting Now restart your computer and check if the Driver Provider has changed. Now it should be Microsoft and the problem should be solved.
Fix: Access Denied or Permission Issues with Autorun.infFix: INF file you selected does not support this method of installationHow to Fix ‘The Third-party INF doesn’t contain Digital Signature Information’How to Uninstall Programs on Windows 10 That Won’t Uninstall
