In this article I’ll touch a little on how to install custom boot animations from the web. If you would like to create your own animations to use instead, you can check that out here. This guide requires practically no technical know-how, although you’ll need to root your device beforehand.
What are Custom Boot Animations?
You may have noticed an animated logo showcasing your phone manufacturer or your network carrier each time you switch your Android phone on. This short animation that appears before reaching your home launcher is called a boot animation. Typically, boot animations are not changeable but with a couple of tools we can switch things up.
How to Download & Install Custom Boot Animations
If you have already rooted your device then you’re more than halfway there. With this method you’ll be able to download an app that can be used to do all of the work for you. This method can only be used to install existing animations, so you’ll have to download one online. I’ve had a search around and found that the selection below offer the best collection of custom boot animations for download. If you’d like to create your very own animation you’ll need to see the other method.
Step 1 – Finding a Boot Animation
Your first step involves finding a boot animation to download. We would suggest navigating to one of the locations below from your smartphone. From each of these websites you can install a bootanimation.zip. Nothing else needs to be done to it, so make sure not to extract it. We’ll need the boot animations root app for later, so if you choose that option you can skip step 2.
Bhoot (mobile optimized boot animations Some NSFW)Androidbootanimation (Small online collection)XDA Developers Boot List (81 Boot loops up to 1080P resolution)2K XDA Developers Boot List (Big list of 1440×2560 resolution boot animations)Boot Animations Root App (More explained about this below)
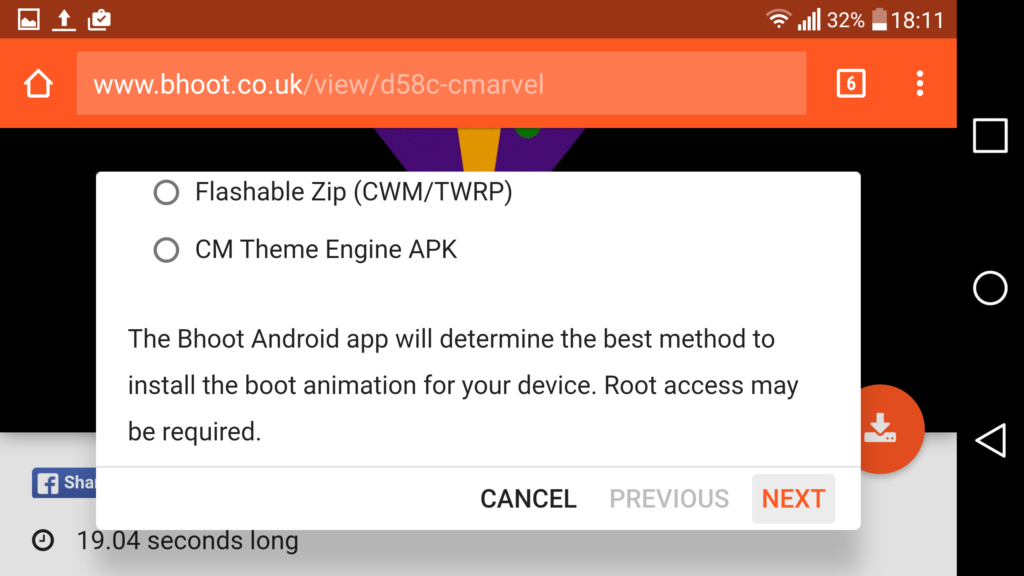
If you choose Bhoot from the list above, the website will let you set up the animation via different methods but we’d suggest choosing the bootanimation.zip method. That way you can learn a method that will work for all of the sources listed above.
Step 2: Downloading the installer app
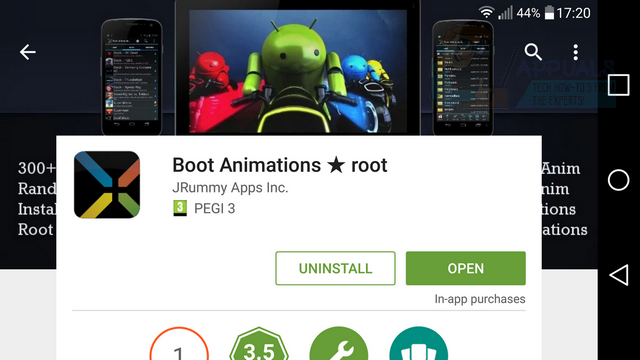
Next you will need to install an application from the Google Play Store. This app does require root access so make sure you’re rooted before continuing. The application can be found here.
The app we listed is free but if you purchase the pro version you can also preview animations from within the app.
Step 3: Installing the Boot Animation
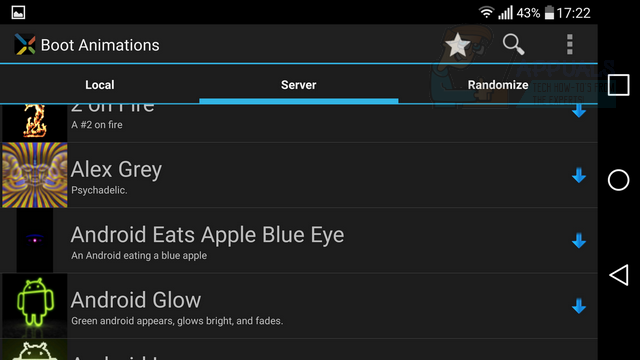
You can now install the custom boot animation that you downloaded earlier. The screenshot below shows you the interface for this application. Follow the steps below to find your new boot animation.
Tap the ‘Local’ tab on the left side Locate the download location of your animation (default location is the ‘download’ folder) Tap install
For those who picked Root App from the Google Play Store –
If you chose to use the app from the Google Play store as your source for boot animations, you can navigate to the tab at the top which reads ‘server’ from within the app instead and choose an animation on the list to install.
Tap the ‘Server’ tab in the center Locate the animation you’d like to download and tap it Tap install The app will now install the custom boot animation. You can sit back and watch the magic happen. The next time you start up your device, your boot animation will have changed. This method can be great for adding a bit of extra style to your Android smartphone in a place where most wouldn’t expect it. However, with this method you are limited to the animations you can find online. If you would like to create your own animation for use as a custom boot animation, please follow this guide here.
How To Make Your Android Unique: Make Your Own Boot AnimationHow to Make Your Android Unique: Custom LaunchersHow To Use Prebuilt Templates To Make Whiteboard AnimationsSony Files Patent to Enhance Implementation of Facial Animations For Game…


