Users can create two different kinds of checklists using Microsoft Word – checklists with check boxes and check marks instead of bullets or numbers (this is the recommended kind of checklist for users looking to create a checklist and then print it out so that they can check off the items on it by hand) and lists that you can check off in Word itself (this is the recommended kind of checklist for users who want to be able to check items off the list in Word itself instead of printing the checklist out, and this kind of checklist requires users to add a content control to the checklist they create). The ability to create checklists exists of all versions of Microsoft Word – from Microsoft Word 2007 all the way up to Microsoft Word 2016. However, the exact steps you need to go through in order to create a checklist in a Microsoft Word document vary slightly between the different versions of Microsoft Word. Without further ado, here’s how you can create a checklist of basically any version of Microsoft Word that is currently and commonly used:
Create a bulleted checklist with check boxes instead of bullets
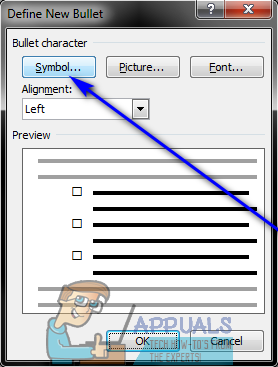
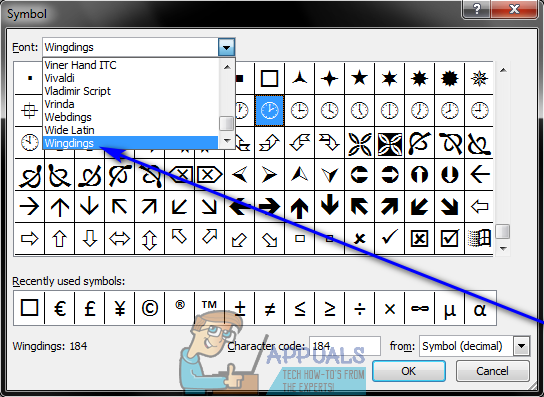
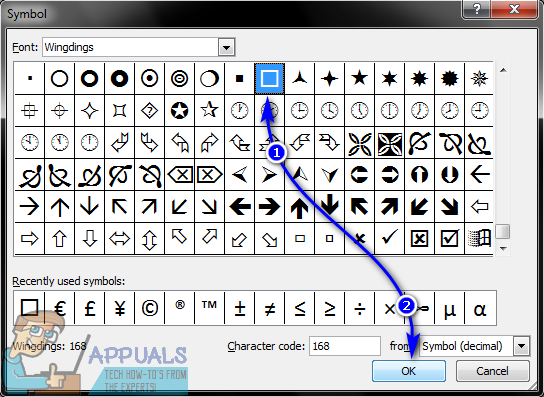
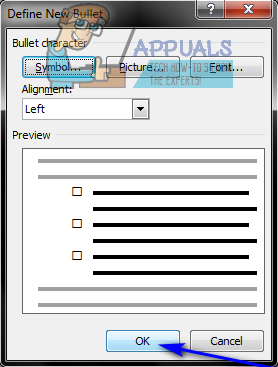
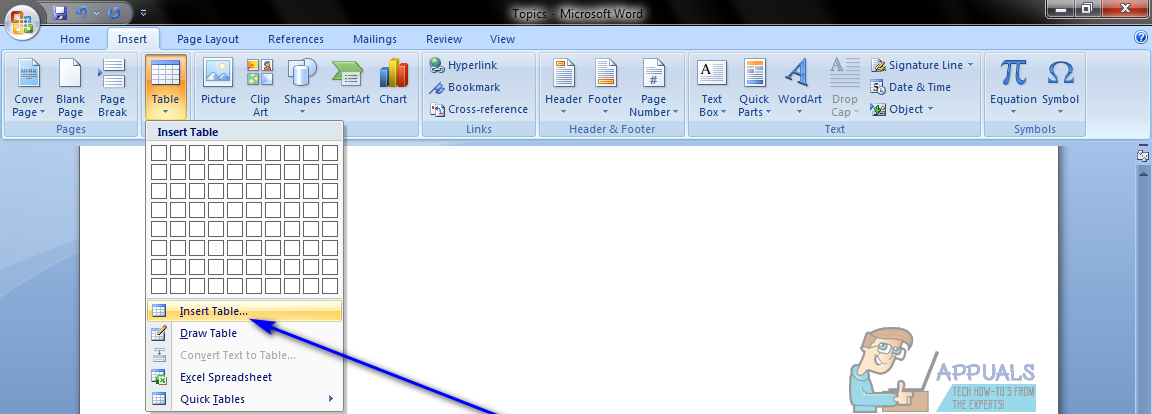
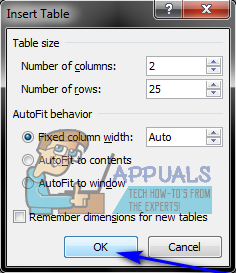
If you are simply looking to create a checklist with check boxes that you can create and then print out so that you can check the items off by hand, you can create a bulleted checklist with check boxes instead of bullets and then print it. In order to do so, you need to: Once you have your checklist, you can simply save the Word document and print the checklist out if you want to.
Create a checklist you can check items off of in Word
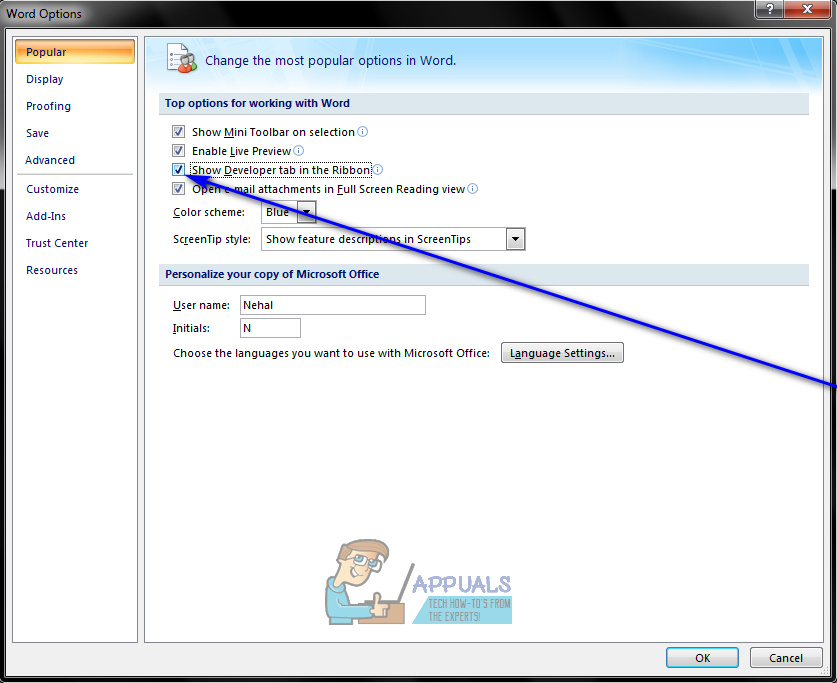
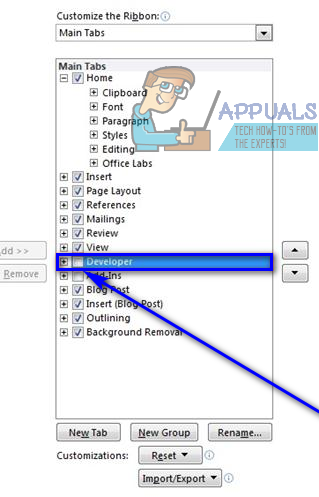
On Microsoft Word, you can also create a checklist you can interact with using Word itself – you can save the checklist as a Word document and then check items off it on your computer using Word. To create a checklist you can check items off of in Word, you need to: On Microsoft Word 2007 At this point, you will have successfully created a checklist in Microsoft Word 2007. However, to be able to check items off this checklist by simply clicking on their corresponding check boxes, you need to lock the document. With the document locked, however, you will only be able to check items off the checklist – you will not be able to edit any other parts of the document unless you first unlock the document. To lock a checklist so that you can check items off it in Microsoft Word, you need to: Once done, you will be able to check items of your checklist by simply clicking on their corresponding check boxes. If you want to edit any other parts of the document, you can simply unlock it by clicking on Protect Document in the Protect section of the Developer tab, clicking on Restrict Formatting and Editing and clicking on Stop Protection in the Protect Document dialog. If you do unlock the document containing the checklist, be sure to lock it afterwards to be able to continue checking items of the checklist.
On Microsoft Word 2010, 2013 and 2016
Next, you need to actually lock the checklist (and the document that contains it) so that you can check items off the list using Microsoft Word itself. To do so: You will now be able to directly check items off your checklist in Word by simply clicking on the check boxes located directly next to the items you want to check off. If you would like to change anything else in the checklist, however, you are going to have to unlock it by selecting the checklist and clicking on Group and then on Ungroup in the Controls section of the Developer tab. If you do unlock the checklist, be sure to lock it again once you’re done editing it, otherwise you will not be able to check items off it in Microsoft Word.
How to Make Forms on Microsoft WordHow to Make a Flowchart on Microsoft WordHow to Make a One Page Landscape on Microsoft WordHow to Make an Index Card on Microsoft Word without a Template

