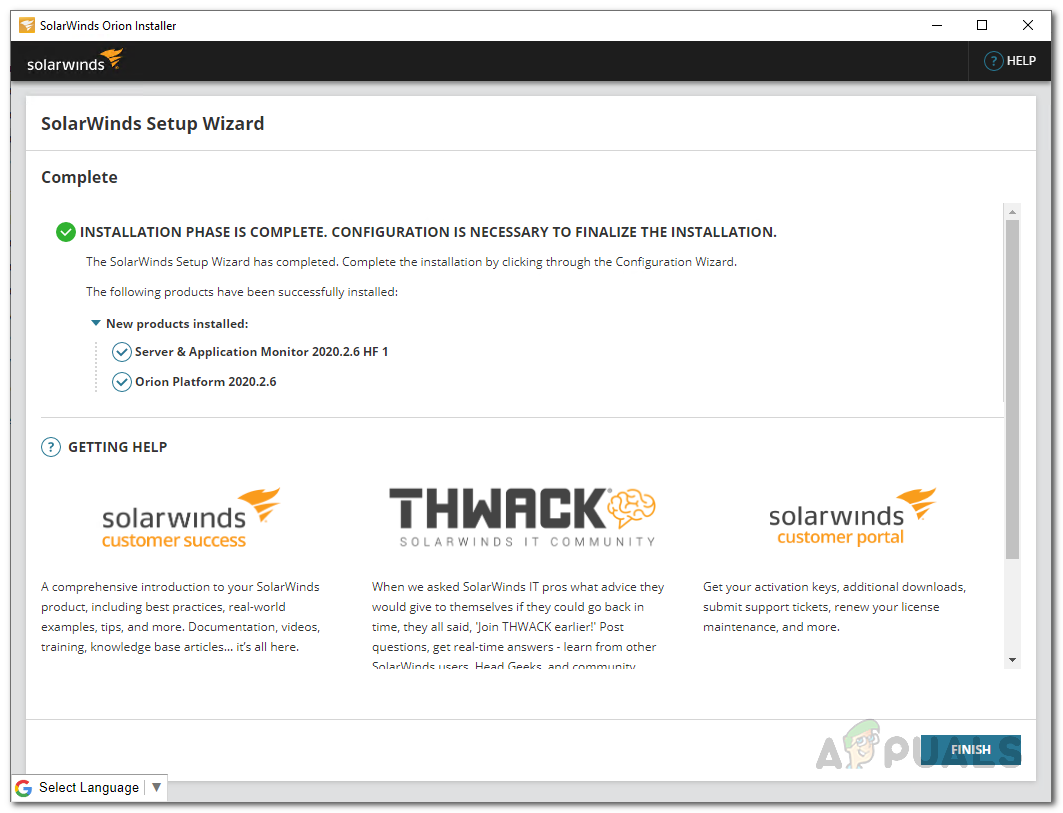
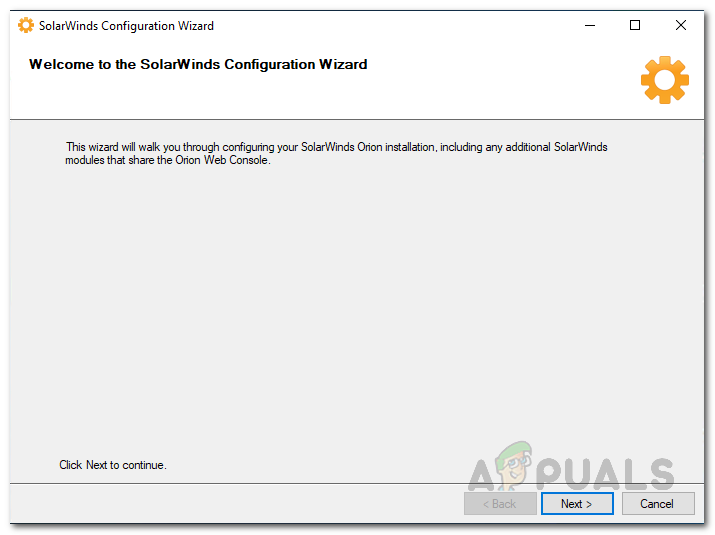
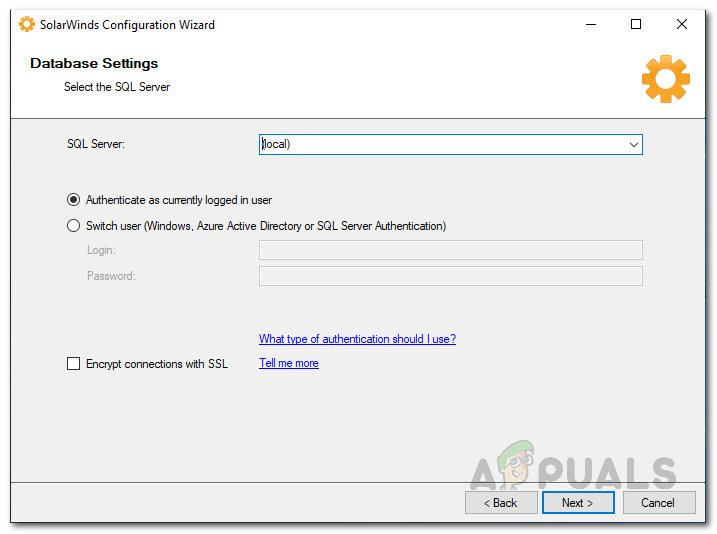
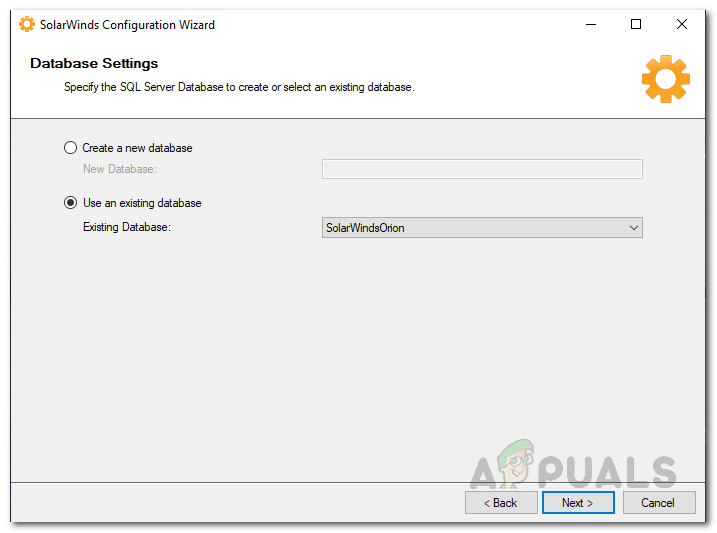
Installing Server and Application Monitor
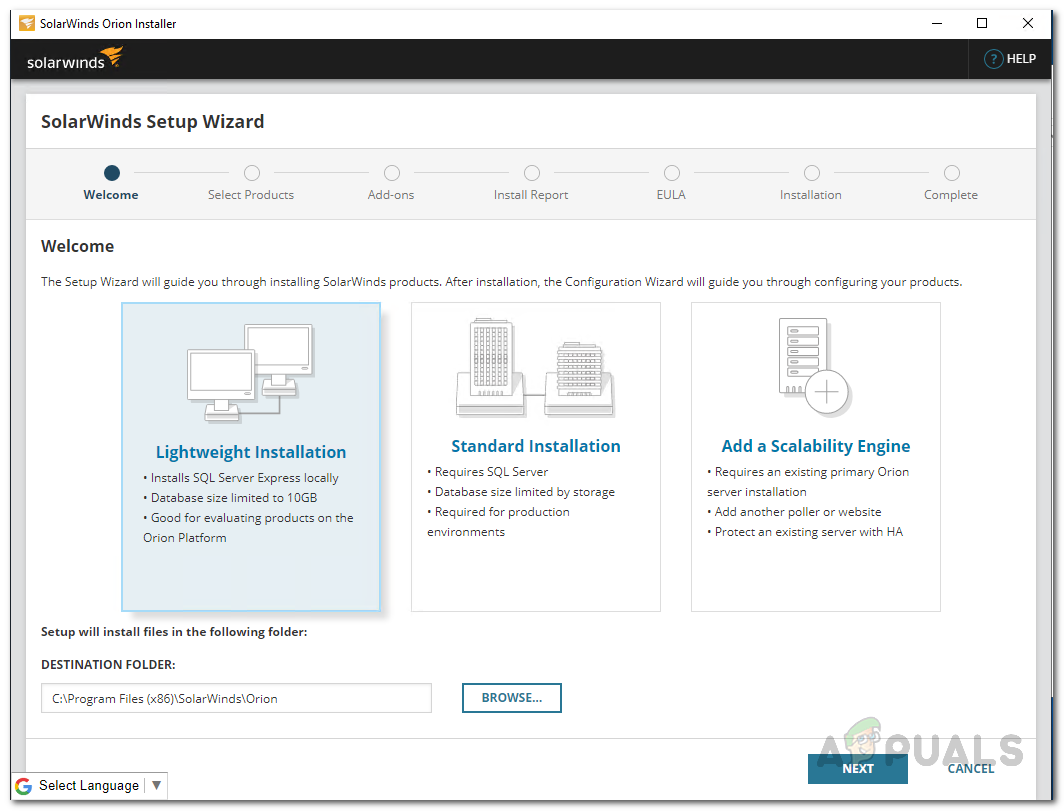
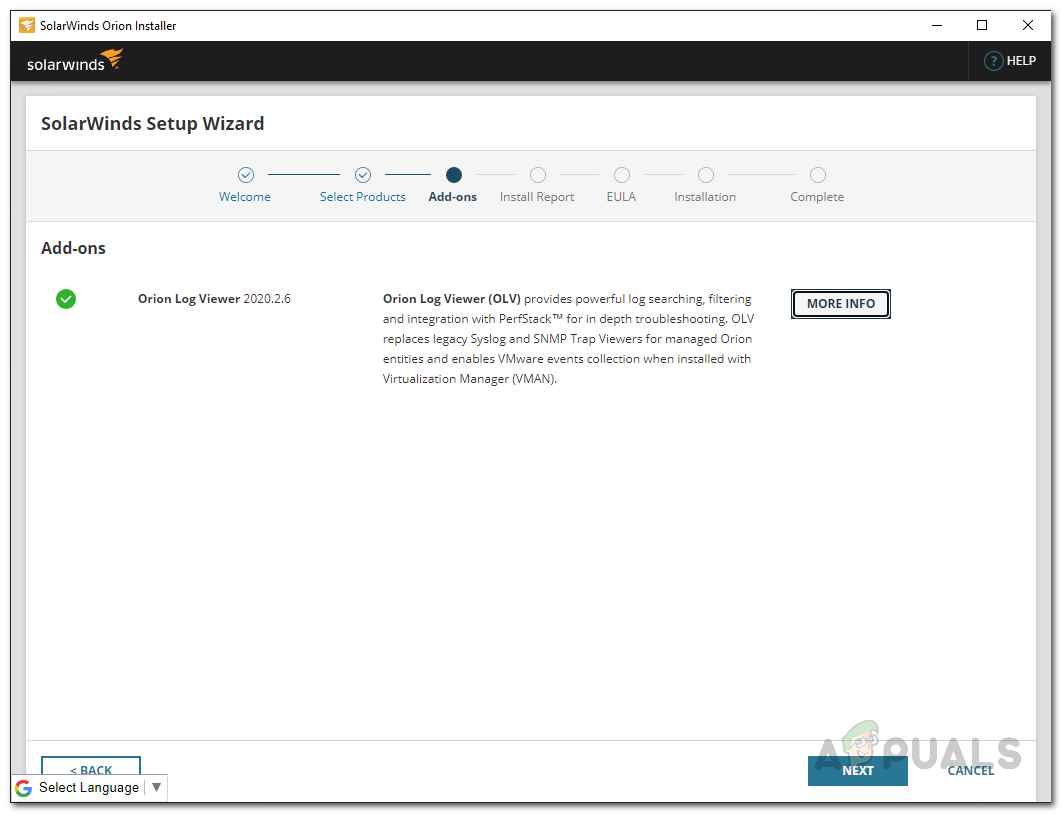
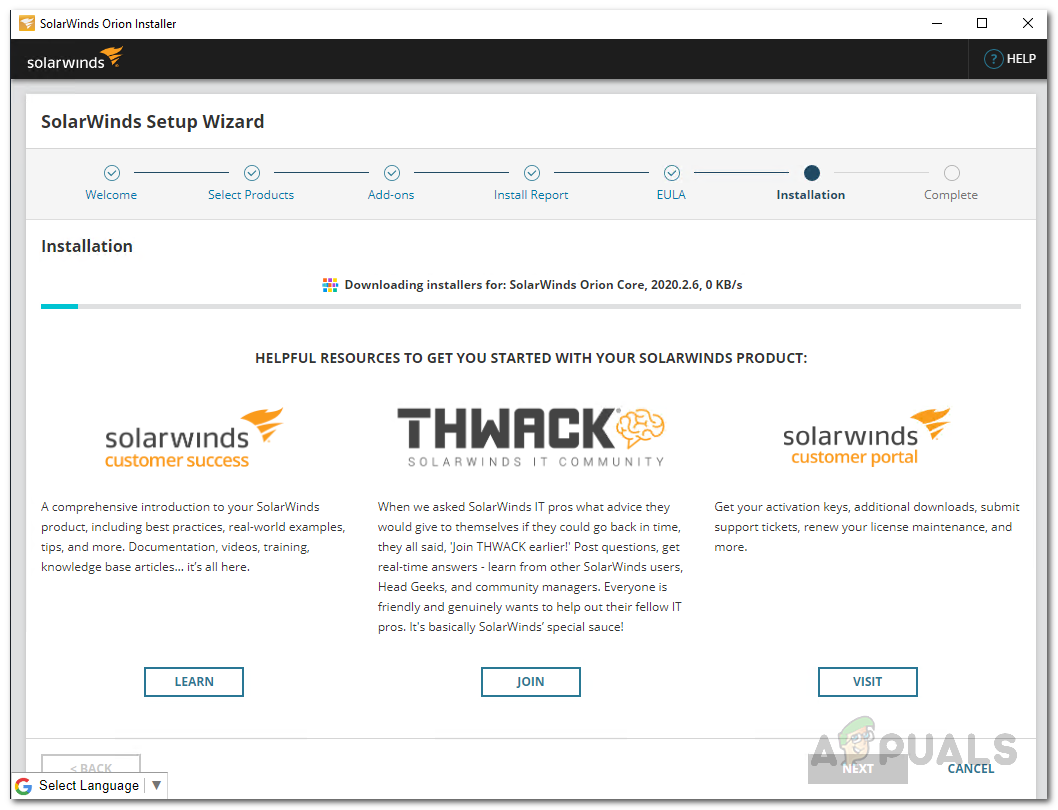
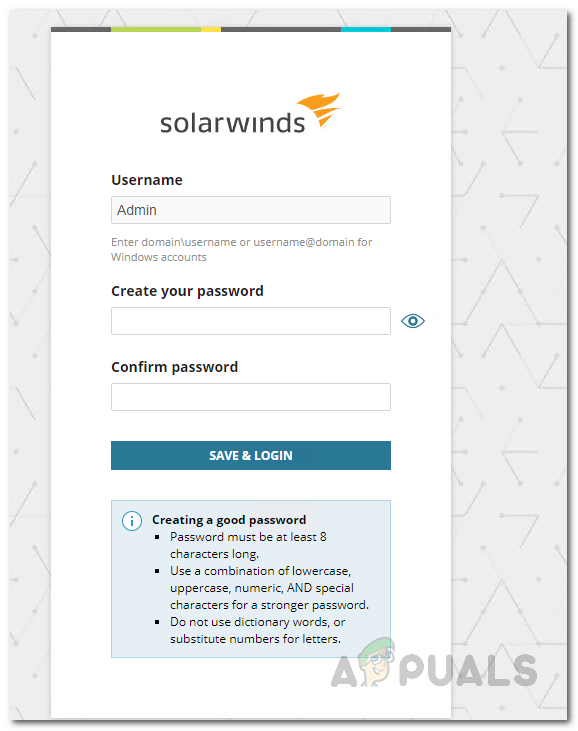
Before we get started and you are able to monitor your cloud instances, we first need to install the product. To do that, go ahead to this link and download the Server and Application Monitor tool from SolarWinds. If you wish, you can download the product and try out the free two weeks evaluation period that SolarWinds provides. Once you have downloaded the Orion installer on your computer, follow the instructions given down below to install it.
Configure AWS Account for Monitoring
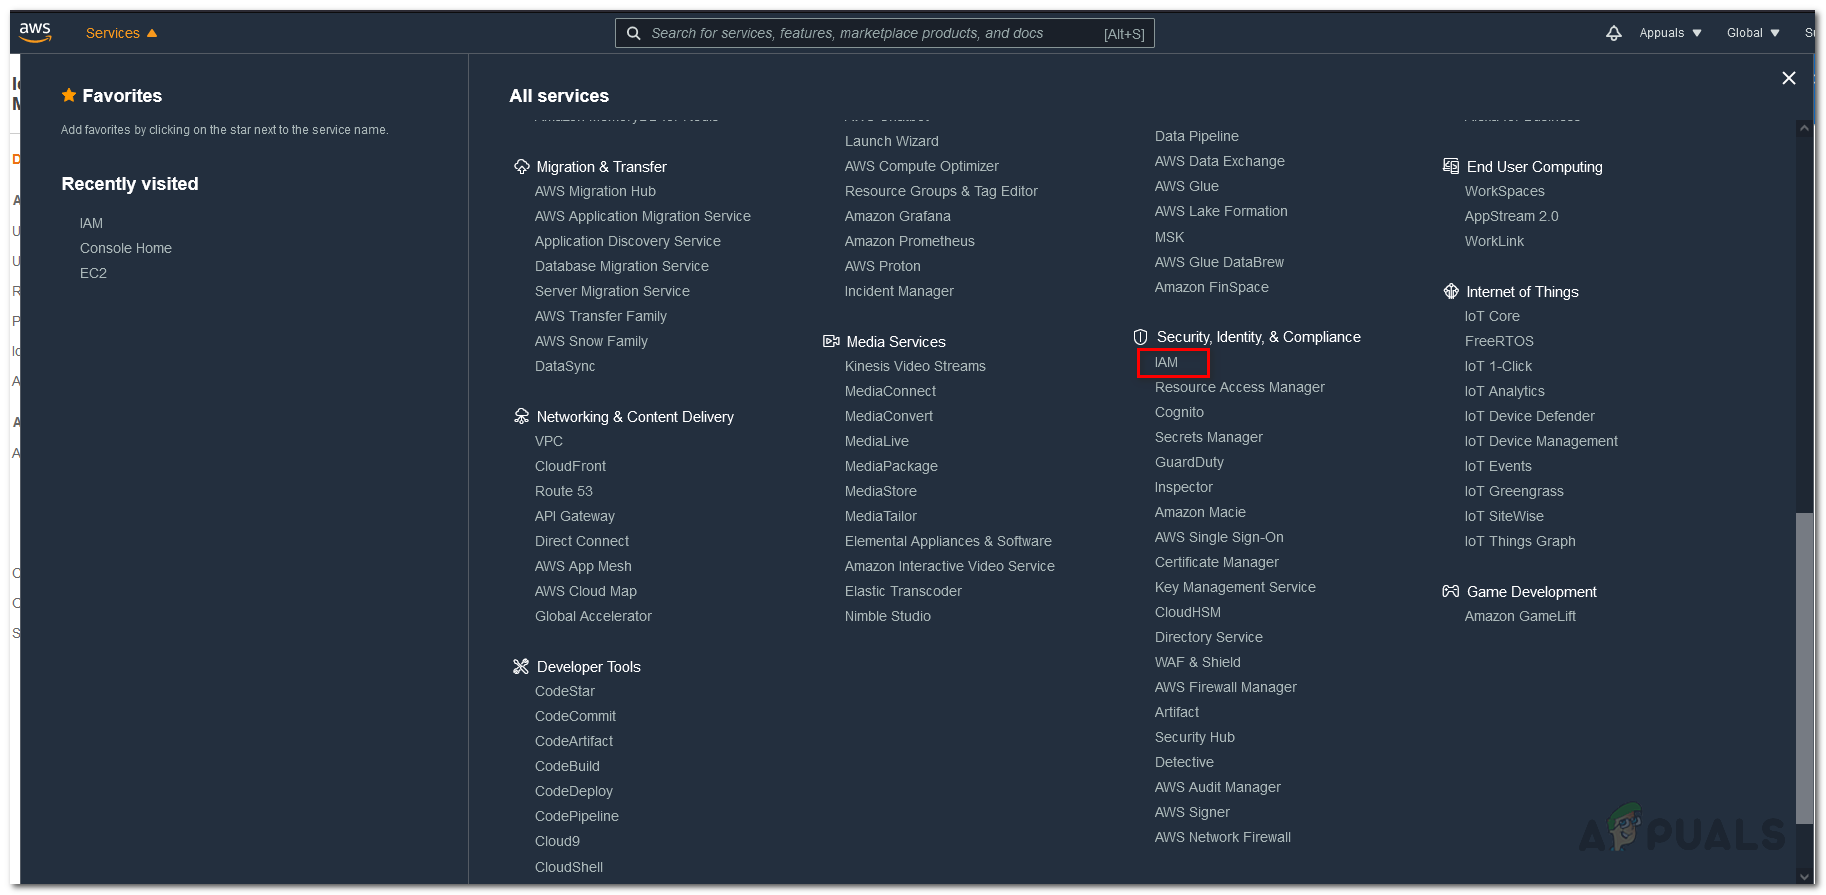
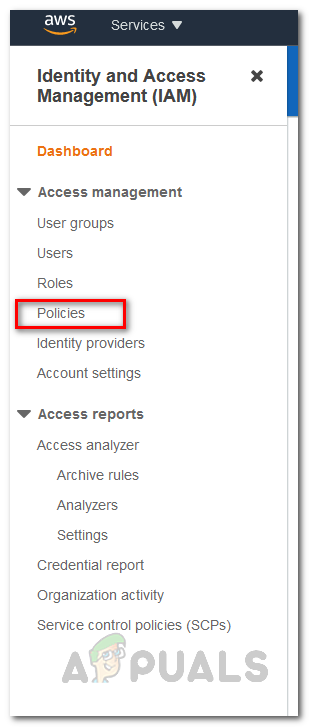
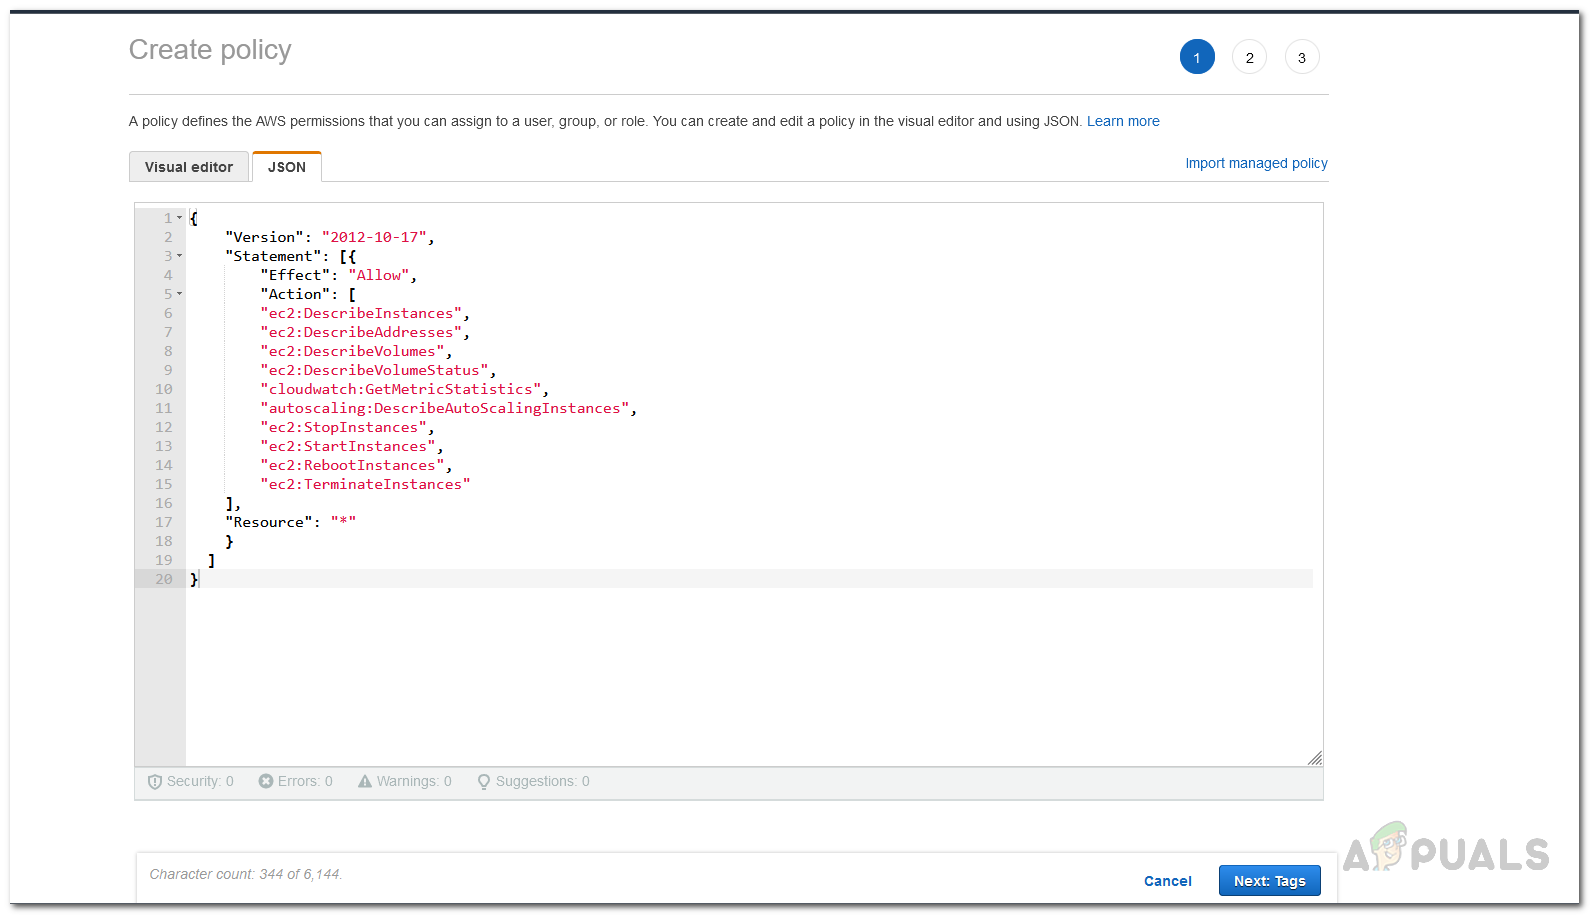
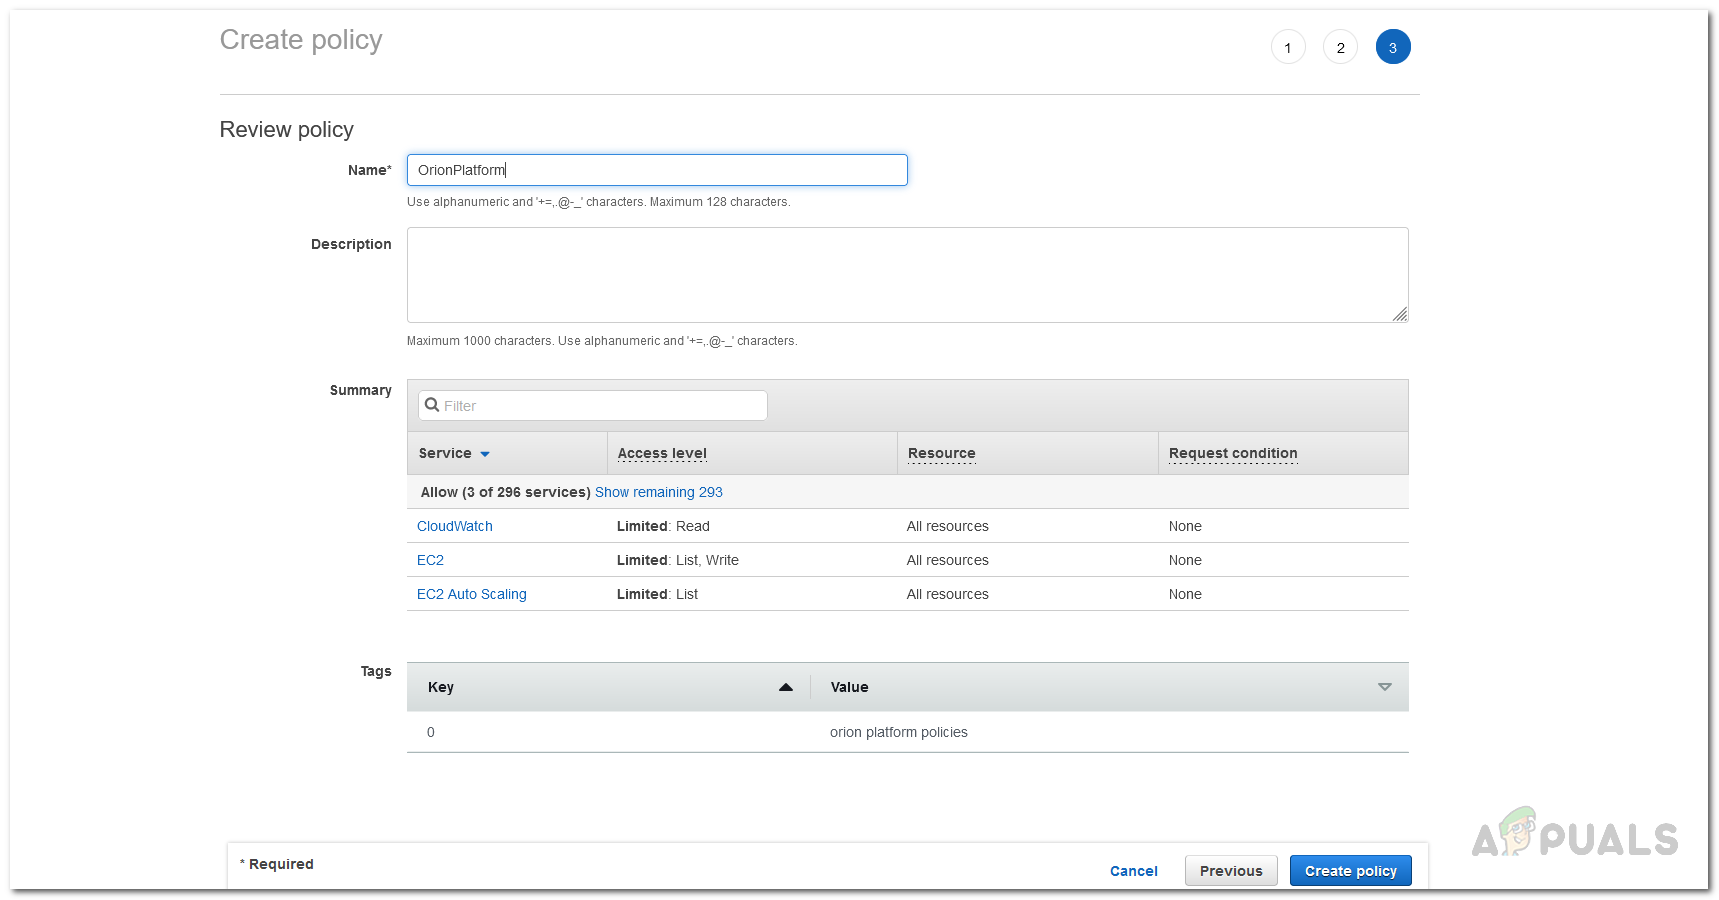
Now that we have installed the Server and Application Monitor, we need to configure our AWS account so that the Orion Platform is able to interact with an AWS account which is able to retrieve CloudWatch metrics. Follow the instructions given down below:
Add AWS Cloud Account to Orion Platform
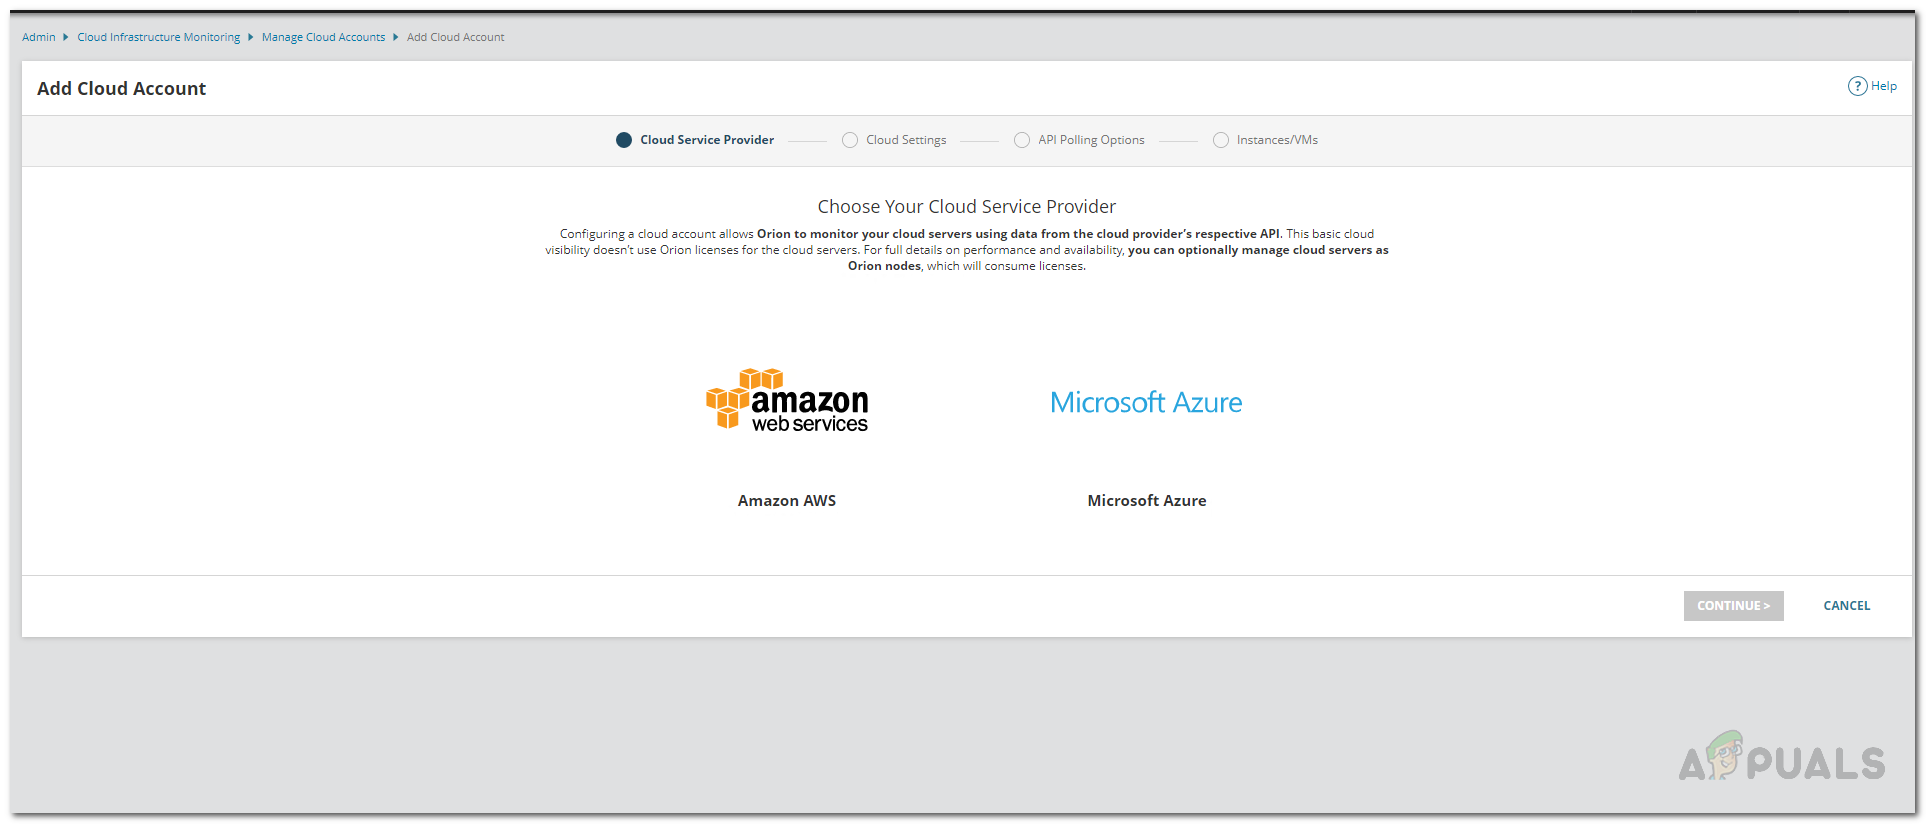
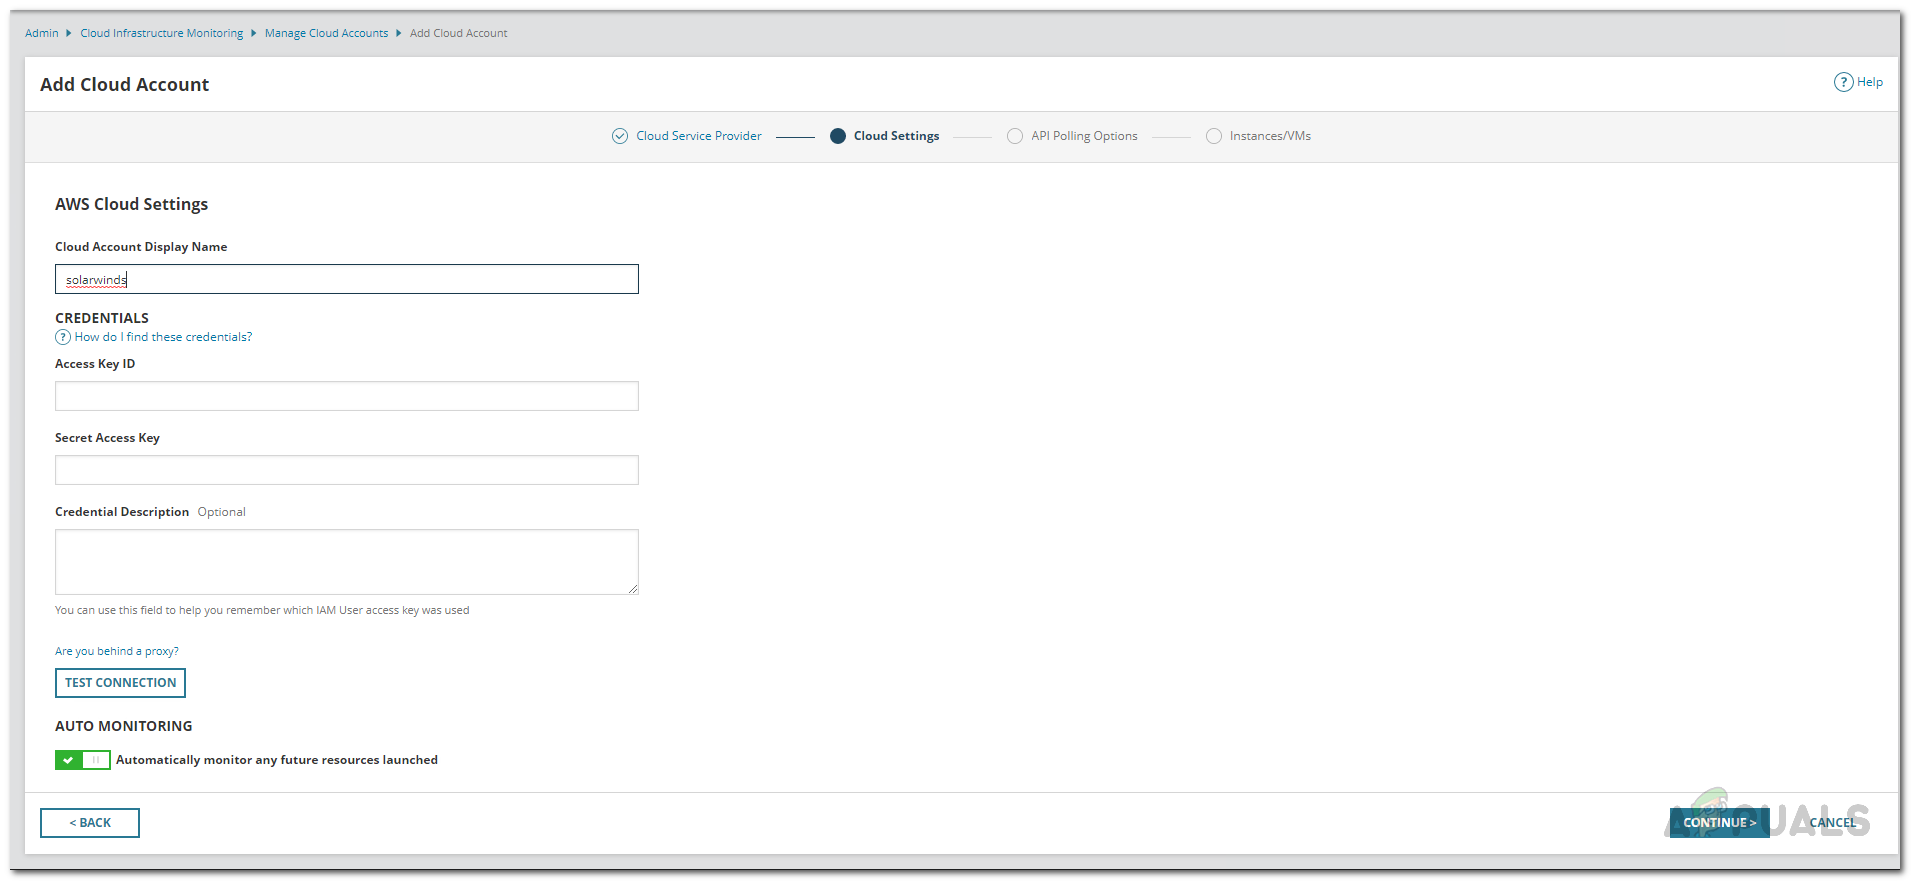
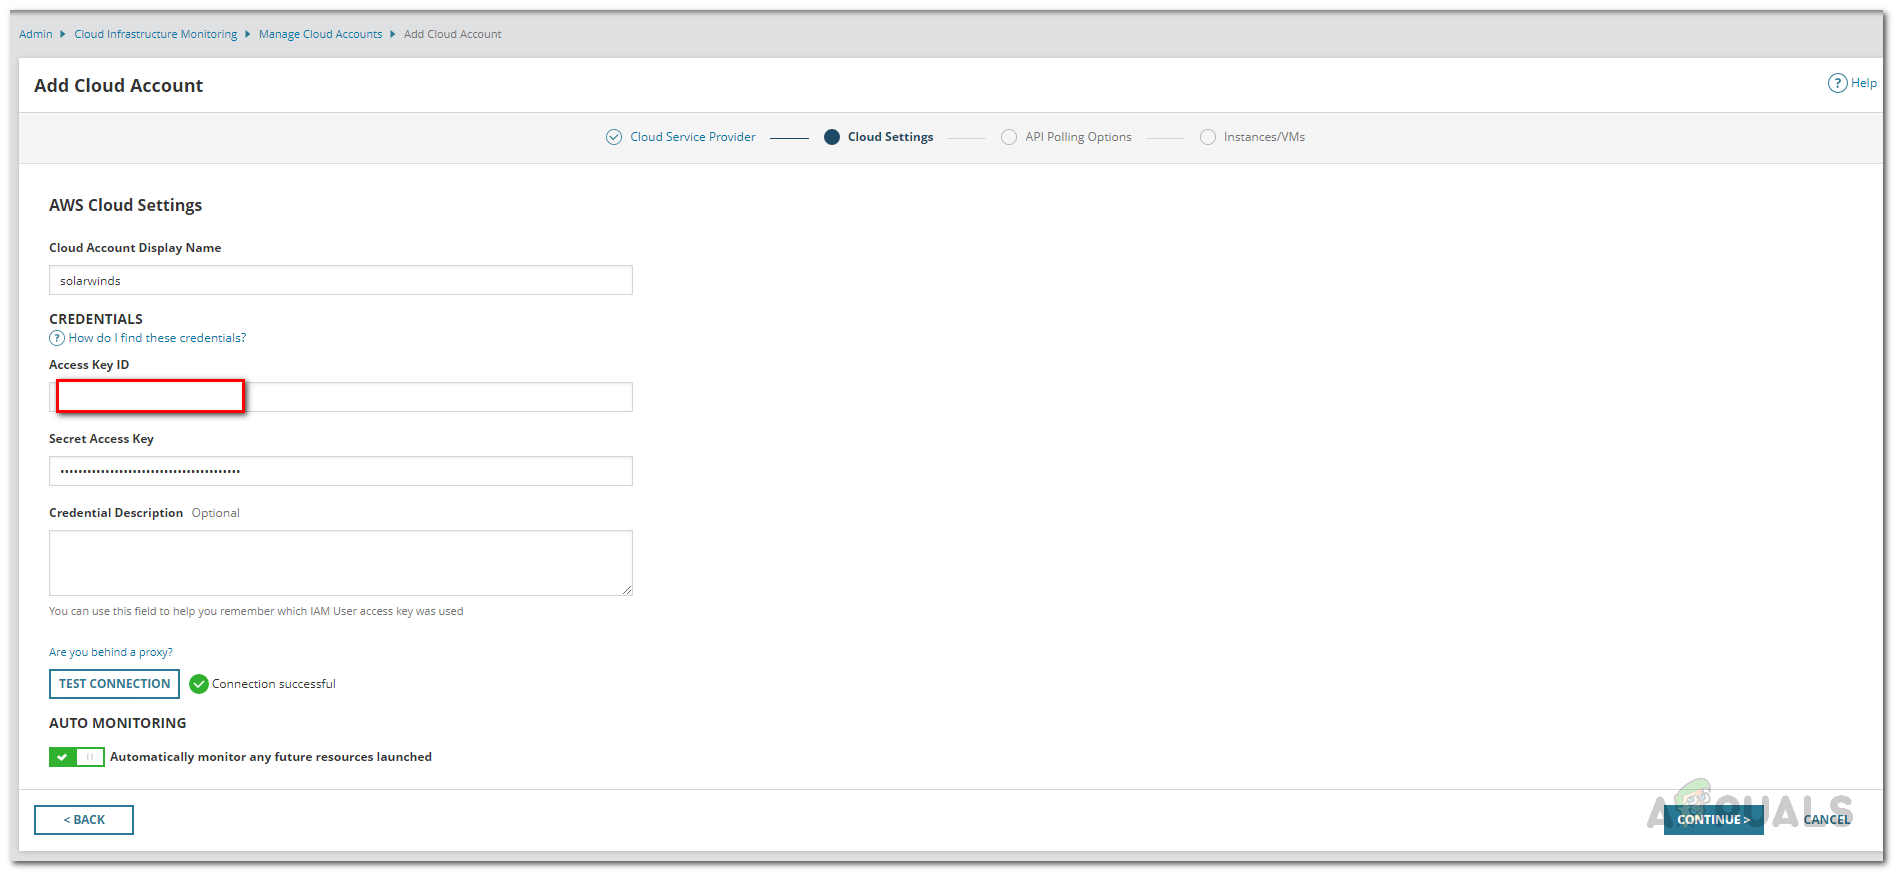
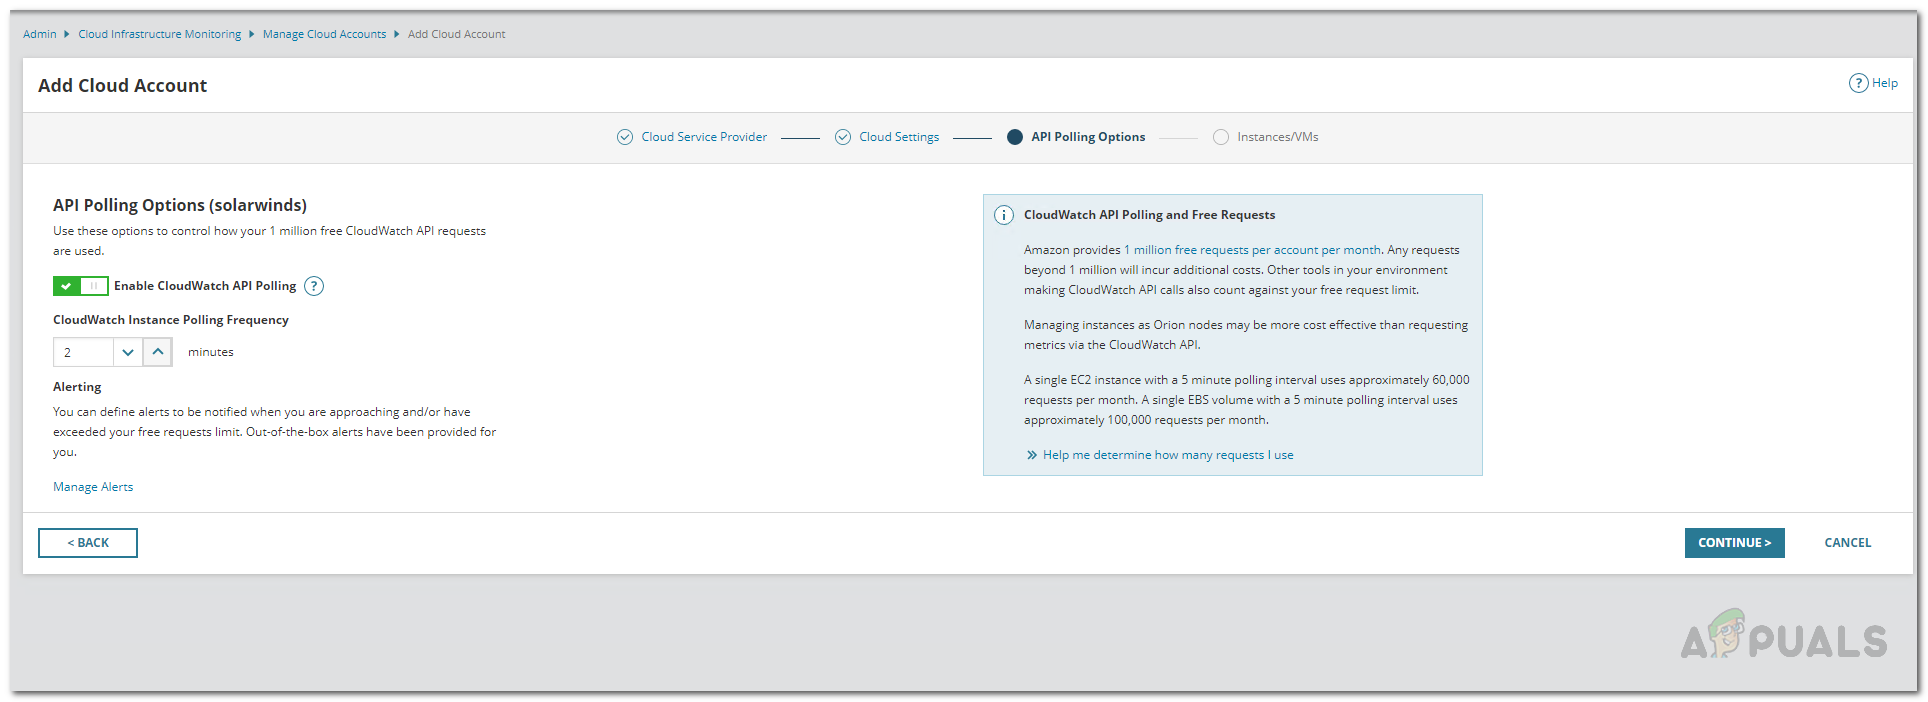
At this point, we have configured the AWS account that is to be used on the Orion Platform for monitoring purposes. Before we proceed, make sure that you have the account’s credentials with you. With that said, follow the instructions down below to add the account to the Orion web console:
Monitor AWS Cloud Instance
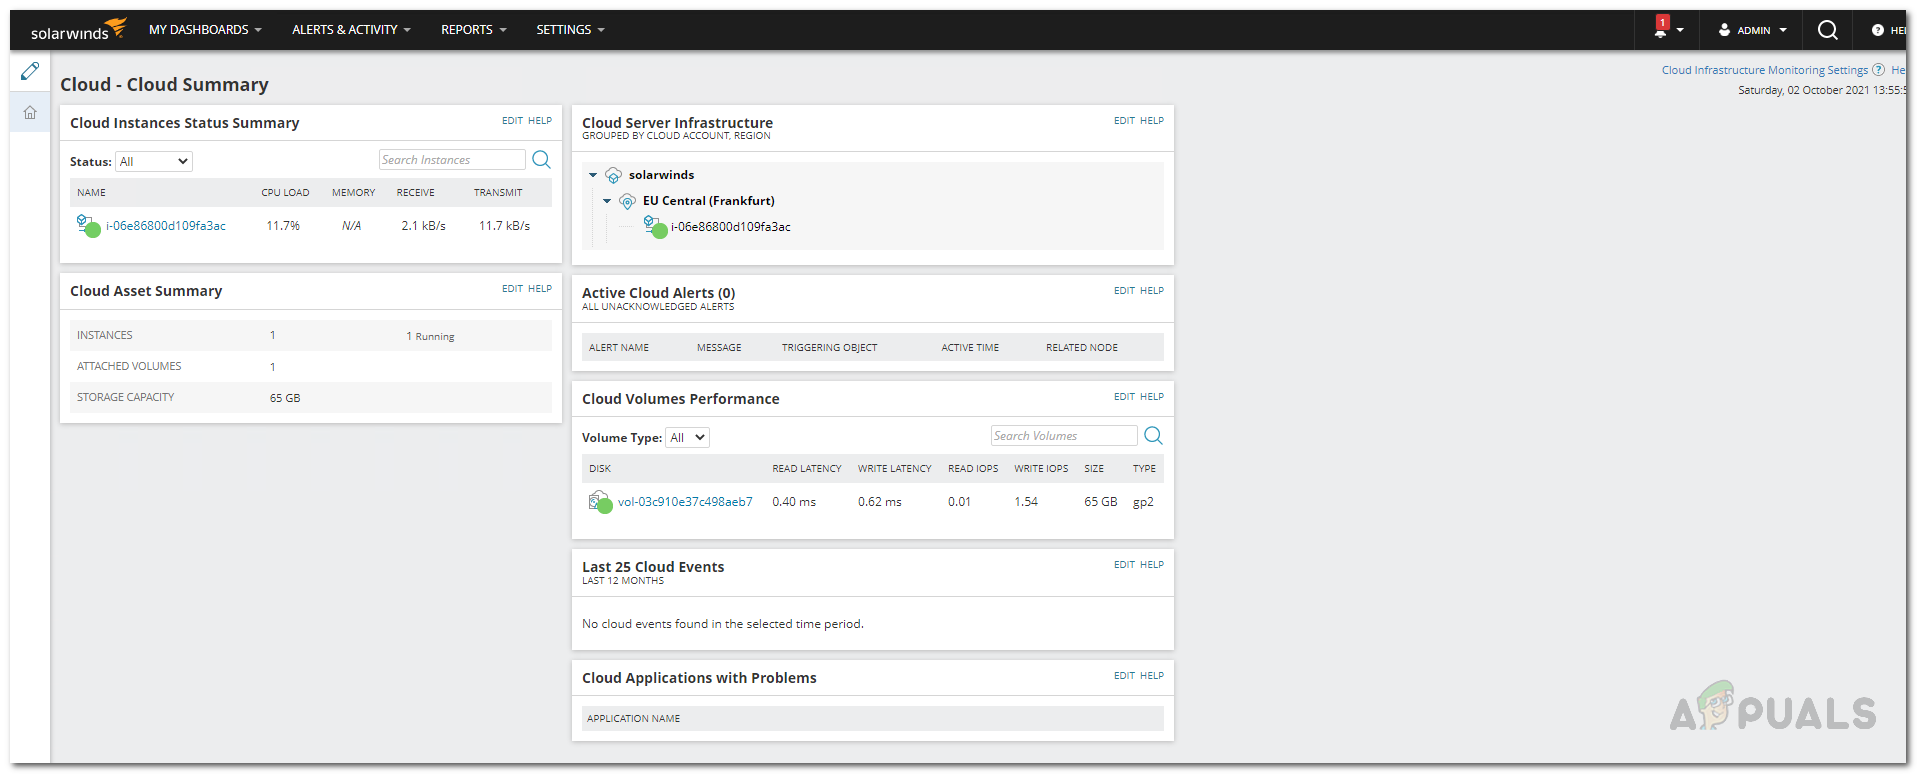
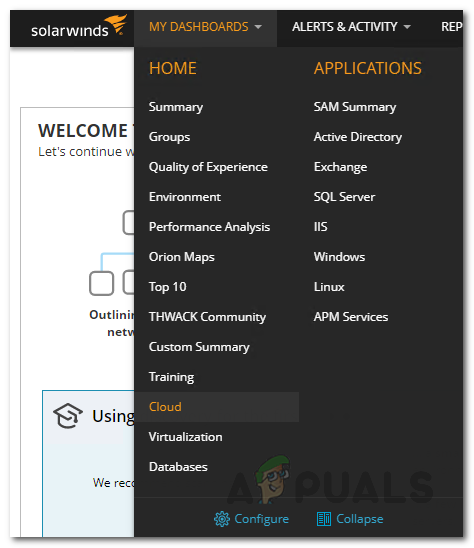
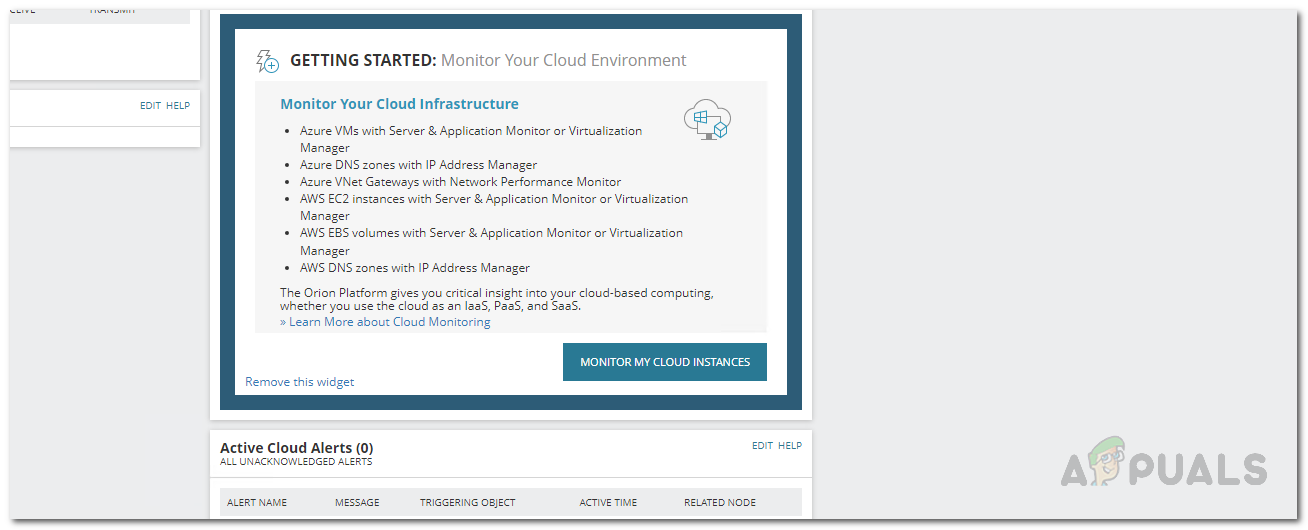
Now that you have installed the Server and Application Monitor, configured the AWS account to be used by the Orion Platform for polling and monitoring as well as added the cloud account to the Orion Platform, you can finally monitor your cloud instances without any worries. To view the summary of your added cloud accounts, simply go to the My Dashboards > Cloud page where a summary will be shown. It won’t be available instantly as it depends on the polling time that you decided earlier so wait for it and you will have your metrics momentarily.
