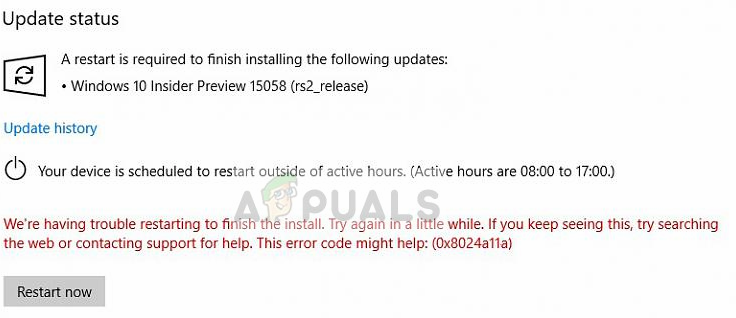
In some cases, restarting your system manually a couple of times fixes the issue, however, it is not bound to work for everyone. An official workaround for this error hasn’t been released by Microsoft, however, considering the senescence of the error, there are a couple of fixes that you can implement to get around the said error. But before we get into that, a look at the causes is necessary.
What causes the Windows Update Error 0x8024a11a on Windows 10?
As we mentioned earlier, the error can be caused due to several reasons which include — To get your system back on the road, use the following solutions.
Solution 1: Restarting your System Multiple Times
As the error message suggests, the update is failing because the system isn’t able to restart. Therefore, your first step should be to restart your system multiple times. In most of the cases, you won’t be able to restart your system from the Start Menu. If this is applicable to you, you’ll have to force it by unplugging the switch. If not, just restart your system multiple times from the Start Menu and see if it fixes the issue. In case your error persists, follow the below-mentioned solutions.
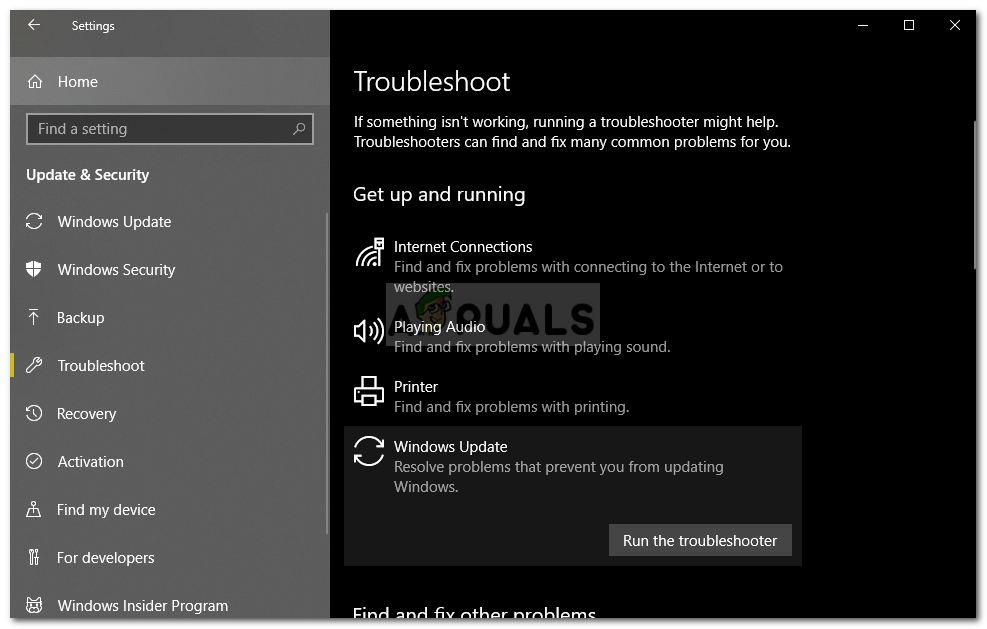
Solution 2: Run Windows Update Troubleshooter
Microsoft has a built-in troubleshooter for various things including Windows update. The troubleshooters scan your system for the cause of the error and then tries to fix it. The Windows Update troubleshooter has fixed this issue for certain users, hence, make sure to give it a try. Here’s how:
Solution 3: Checking your System for Corrupted Files
The error can be caused by corrupted system files as we mentioned above. In such a scenario, you’ll have to scan your system for corrupted files using Windows built-in utilities. System File Checker (SFC) and Deployment Imaging and Servicing Management (DISM) are Windows built-in utilities that let you search your system for corrupted files and then repair them using a backup copy. However, in certain cases, SFC doesn’t catch the error due to which you’ve to make sure to run DISM as well. To execute System File Checker, please refer to this article. For DISM, refer to this article published on our site.
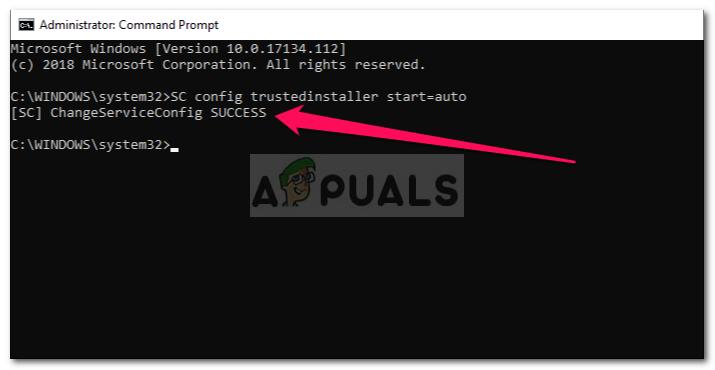
Solution 4: Running Windows Module Installer
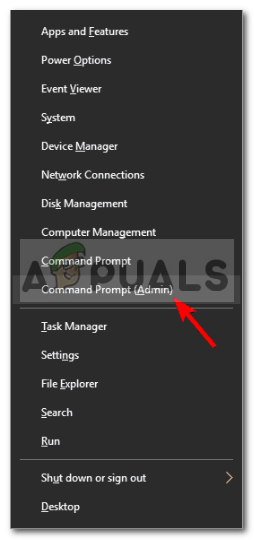
Windows Module Installer is a Windows update service that lets you install, remove or modify Windows updates. For an update to successfully complete, this service has to be running. Certain errors can pop up if the said service is stopped. Therefore, make sure to start the service. Here’s how:
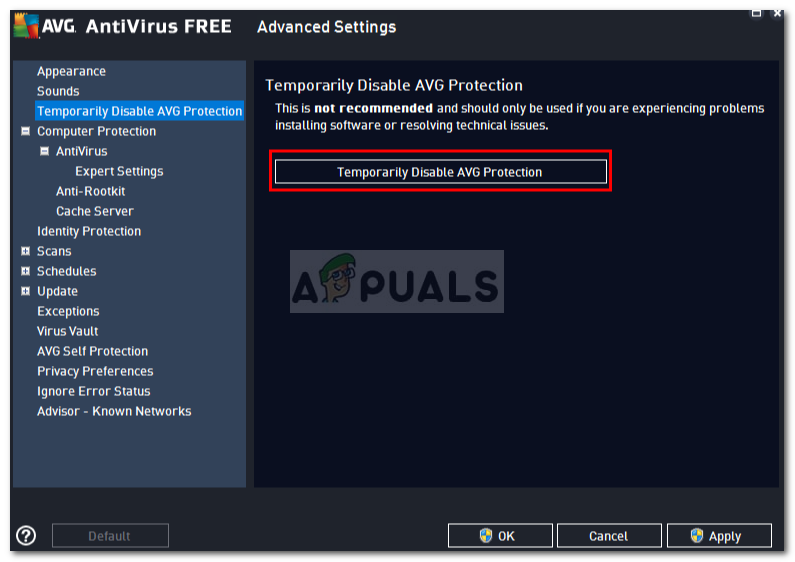
Solution 5: Disabling Third-Party Antivirus
Your antivirus can be intervening with the update process and preventing your system from restarting due to which the error is popping up. Some users have reported that their issue was resolved once they turned off their antivirus. Hence, make sure to turn off your antivirus and then run the update. If this fixes your problem, maybe you should look for an alternate antivirus or remember to turn off your antivirus everytime you run an update.
Solution 6: Installing the Update Manually
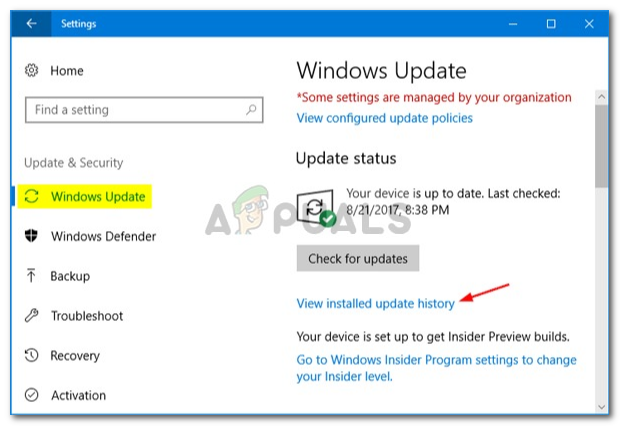
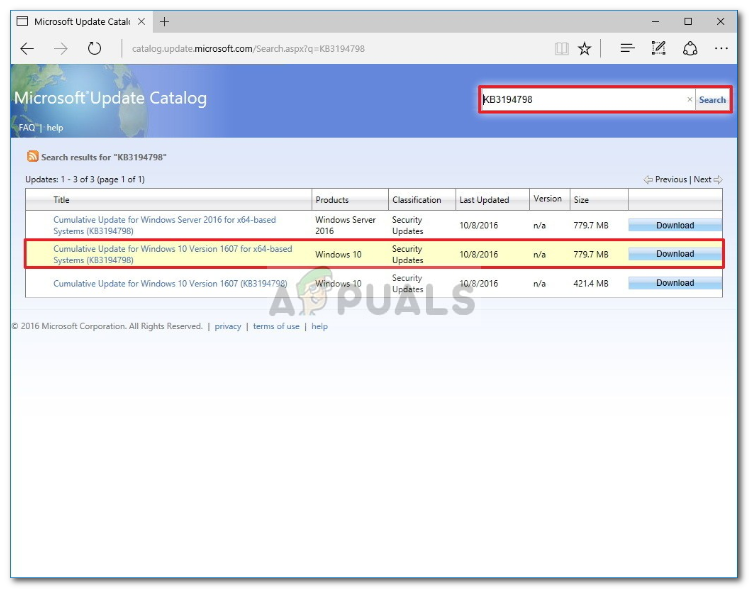
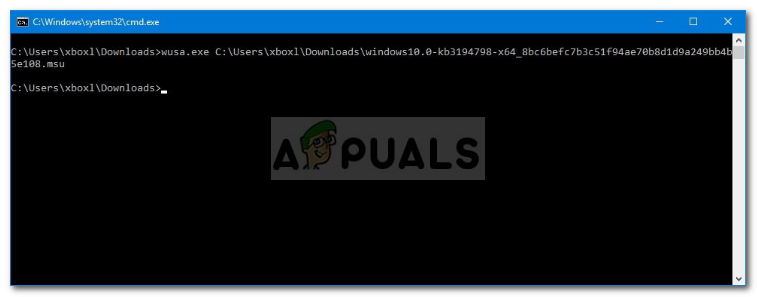
If none of the above solutions work out for you, you’ll have to install the update manually. This can be easily done. You’ll have to copy the KB code from the Update Settings and then search for it on the Microsoft Update Catalogue. If you’re confused and don’t know how to download the update manually, here’s how:
Fix: Windows Update Error “We Couldn’t Connect to the Update Service”[SOLVED] One of the Update Services is not Running Properly in Windows UpdateLast Free Update For Windows 7 Released, KB4534310 And KB45343140 Are The Final…How to Update the Windows Update Agent to the Latest Version
